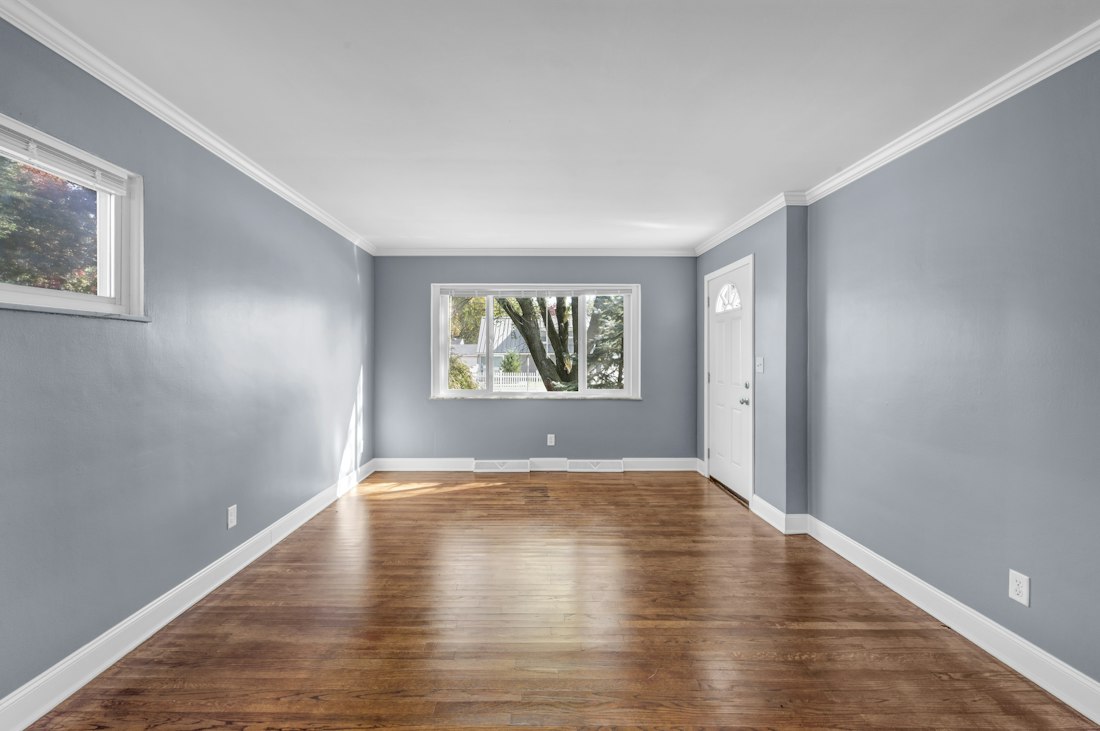
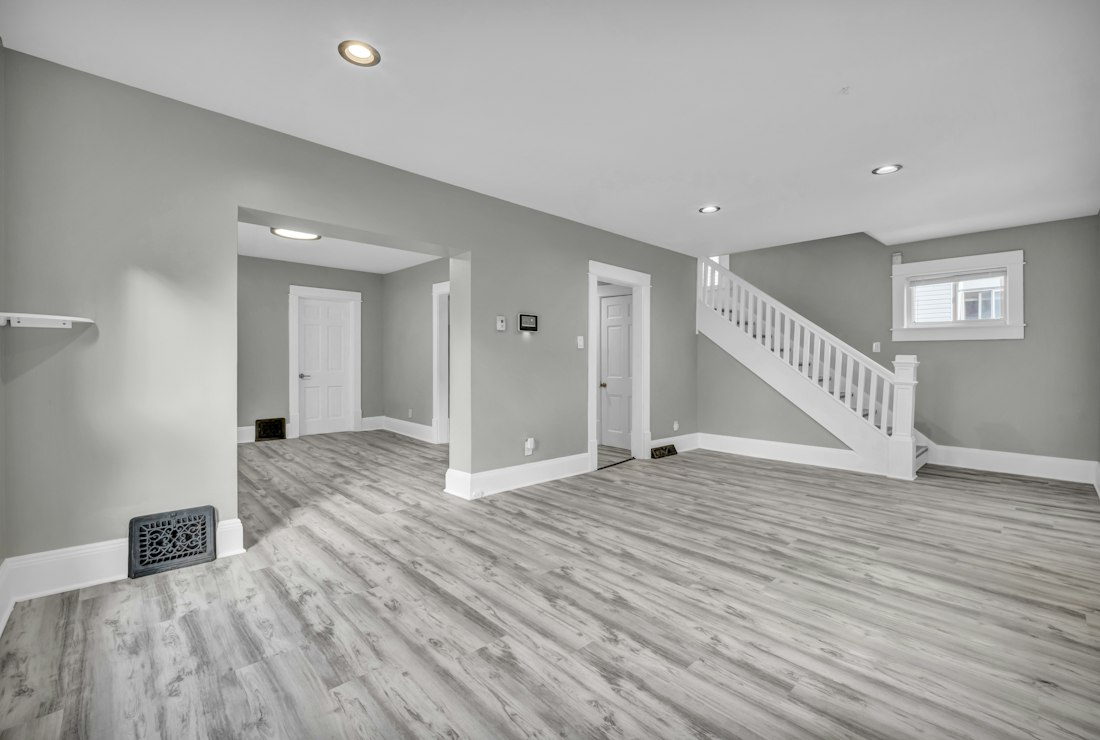
Cutting in and rolling are connected parts of applying a coating around a room. Planning how they meet is more useful than brushing every edge first and hoping the large roller will blend everything later.
Start with a suitable prepared wall, the selected coating's directions, and compatible tools. This guide helps you organize the work; it does not replace the product's method, application conditions, or access requirements.
Define the edge you are working toward
Identify where the wall coating stops: a ceiling line, trim, a corner, a doorway, or another color. Make sure that boundary belongs to the agreed project rather than changing it halfway through application.
Check how you can reach it before you open the paint. A difficult high corner or narrow space may need a different supported setup, and it is easier to solve access while the room is still clean.
If adjacent surfaces need masking, confirm that the protection is suitable for those surfaces and their current condition. Fresh paint, delicate finishes, and uncertain coatings need more thought than simply pressing down the tape you already own.
Keep the boundary information with your surface plan. This helps another person understand whether a trim face, a reveal, or the inside of a doorway is actually part of the wall-painting stage.
Understand why the two tools must meet
Sherwin-Williams' room-painting guide describes brushing the edges and moving to the roller while those edges remain wet, overlapping them to support an even appearance. This is the connection behind its wet-edge advice, rather than a fixed number of minutes you can apply to every coating and room.
Use the exact paint directions to plan that connection. Different conditions and materials can change the working situation, so a general guide cannot promise how long a particular brushed strip remains workable.
Do not divide the job into a whole-room brush session and a much later rolling session without checking that method. The order may be convenient for handling tools while creating a different coating sequence from the one intended.
Think in manageable connected areas. You want to know where the brush work and rolling will meet before either stage is underway.

Arrange the work area around interruptions
Put the required tools and supplies within sensible reach while keeping the access route clear. A missing tray liner or an awkwardly positioned container can interrupt the section at the moment you need a consistent sequence.
Set aside other household tasks for the application period. You cannot always predict an interruption, but you can avoid beginning a connected section immediately before a scheduled delivery or appointment.
If someone is helping, agree on the handoff between brush and roller. Describe the area and readiness you are coordinating instead of assuming the other person knows how far ahead to work.
Keep the amount of active work within what you can manage using the product's method. A larger prepared room does not mean you need to make the entire room one continuous application section.
Match the small-area tools deliberately
Choose the brush for the coating and the boundary, not solely because it is labeled trim. Width, shape, filament type, and your ability to control it all belong in the selection.
If you use a smaller roller in a tight area, compare its fabric and nap with the main cover. An unrelated small roller can introduce another application variable even when the color comes from the same container.
Check frame fit and extension connections before use. You want the tools to behave predictably without needing to adjust a loose part while you are managing a wet section.
Follow the tool's preparation and loading directions. A room-planning article cannot justify an improvised method that conflicts with the coating or applicator instructions.

Keep the coating sequence visible
Mark the room's walls on a simple sketch and choose the order you intend to follow. Include narrow returns or recesses so they do not become forgotten patches that need a separate late application.
Do not let the sketch become a rigid route when the real conditions change. If the coating is behaving differently from what you expected, stop and obtain the relevant advice before extending the same problem around the room.
Keep track of where a coat was completed and when. That information matters when the next stage involves recoating, adjacent-surface protection, or returning the room to use.
If you have to stop, identify the unfinished area clearly. A useful restart note is better than relying on a photograph whose wet and dry sections may be hard to distinguish later.
Observe differences without chasing them immediately
A brushed edge and a rolled field may look different during application. Judge the work using the coating's appropriate evaluation stage instead of repeatedly working a changing surface because its wet appearance worries you.
If a difference remains later, identify what you actually see: a color boundary, a texture transition, a sheen change, or a physical ridge. Those descriptions lead to different questions and avoid blaming every mark on the same assumed mistake.
Do not try to erase a profile problem by applying more decorative material. If preparation is the issue, discuss that stage rather than turning the finish coat into an uncertain repair material.
Keep photographs and the product information together when asking for help. The tool choices and sequence explain more than a close image with no account of how the wall was coated.
Plan another coat as another complete stage
If the chosen system calls for another coat, follow its readiness and application requirements. A wall looking dry does not independently establish that the next coat can begin.
Review the room route and tool arrangement before restarting. You may have learned something useful about access or interruptions during the previous stage that can improve the organization without changing the product's method.
Do not assume that a second coat will correct every kind of first-coat problem. Investigate unexpected behavior or unresolved preparation before adding another layer over it.
Keep the final appearance goal in view. You are trying to create a coherent finished surface, not simply complete a predetermined number of trips around the room regardless of the result.
Close with a repeatable record
After the work, note the exact brush and roller specifications with the coating information. Include the room sequence if it helped you manage an awkward doorway, recess, or access limitation.
When you inspect the finished wall, use the room's ordinary light and viewing positions. A consistent observation makes it easier to discuss any remaining difference without choosing only the most flattering or most severe angle.
A good cutting-in plan connects the boundary, the tools, and the larger wall application. You will know how those stages meet and what needs checking before moving on, instead of treating a wet edge as a vague instruction to work faster at any cost.
Try the handoff before the room is active
If two people are working, walk through one imaginary section with the clean tools and agree where each person stands. You can find an awkward passing route or an unreachable supply before those interruptions become part of the coating work.
Keep that agreement simple enough to remember. A clearly named wall section and an understood handoff are more useful than a complicated timing system that encourages either person to keep going after the material or conditions suggest stopping.
Give a doorway return its own place
A doorway return can be easy to omit when you imagine the room as four flat rectangles. Include its actual surfaces and color boundaries in your plan so you do not discover an unfinished strip after the nearby wall has reached a different stage.
The same check applies to an alcove or short wall behind a fixed fixture. You can then choose a supported way to reach and finish it, and coordinate that smaller area with the larger application instead of improvising a late patch with whatever tool is still wet.
Published technical information supports the specific material statements. Room examples and illustrations are original; they are not product tests or a diagnosis of your wall.