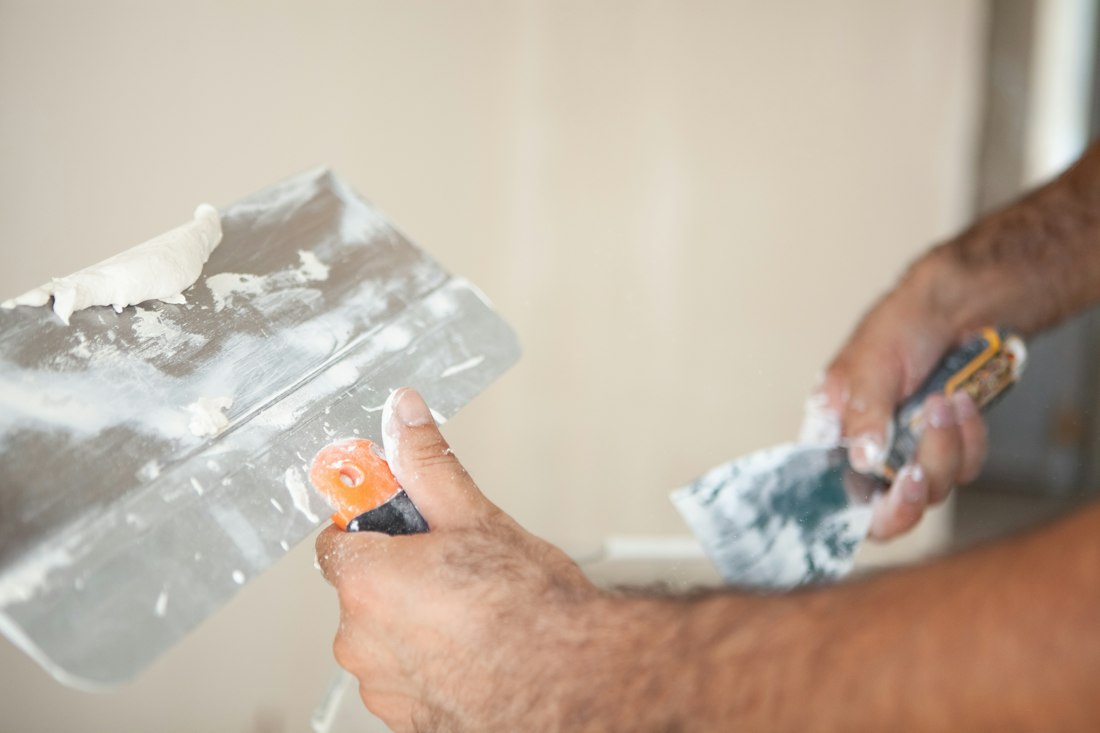
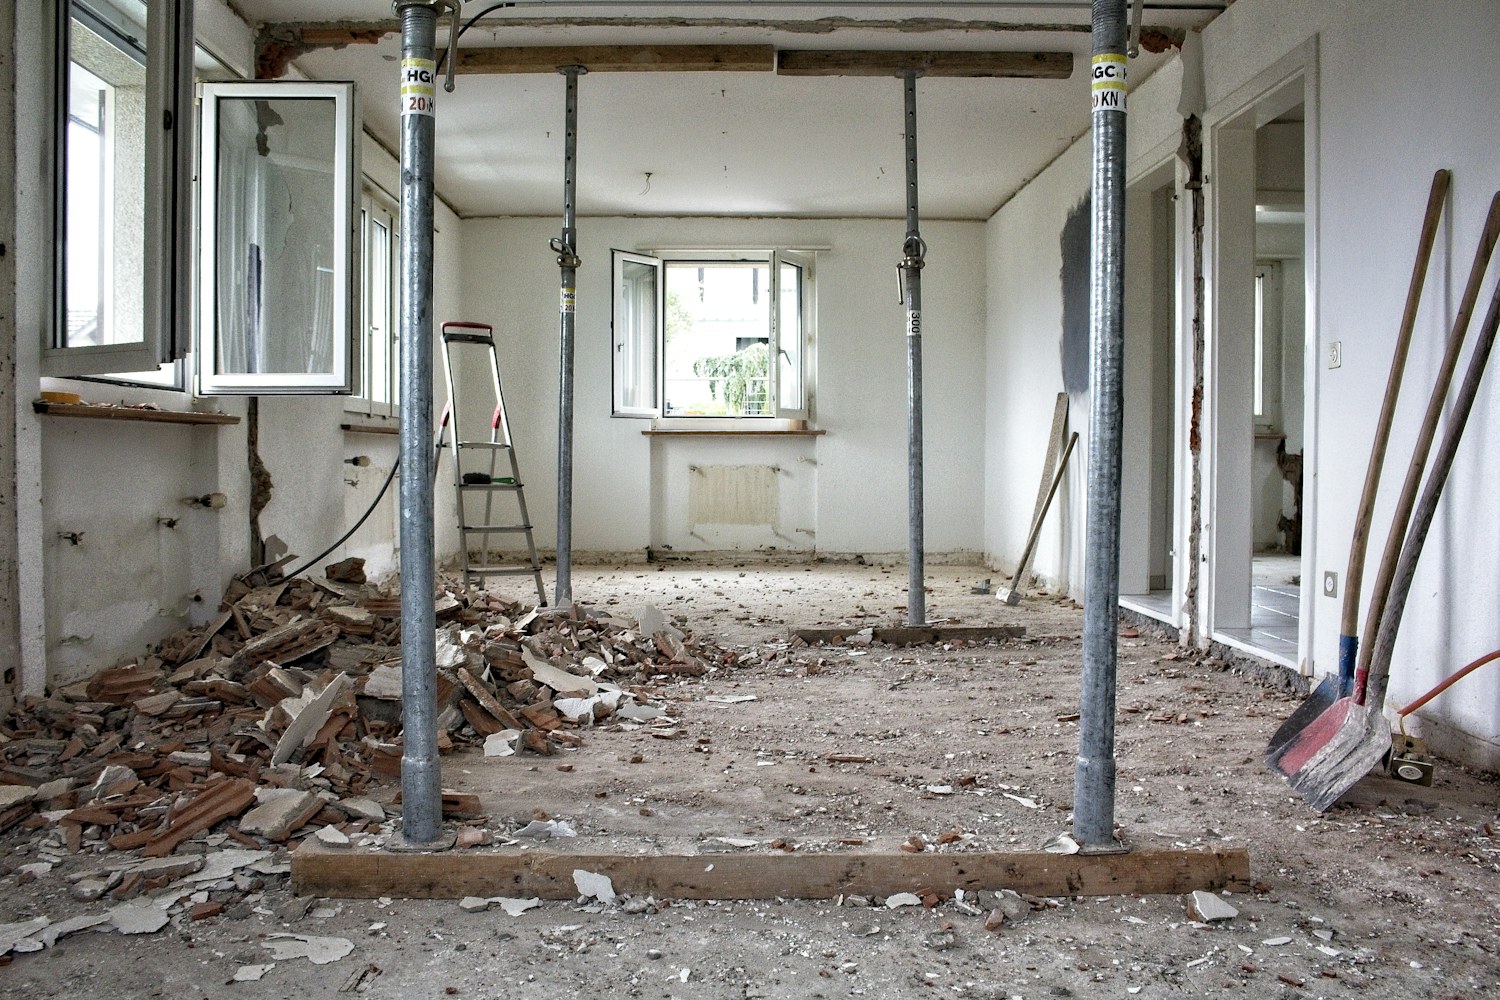
A wall can look smooth from the center of the room and show ridges as soon as you stand beside a window. Before painting, use the room's light to observe the surface instead of discovering every transition after the finish coat goes on.
Raking light means light traveling across the surface at a shallow angle. You can use it as an observation aid, while remembering that an unusually severe inspection setup is not the same as the room's everyday appearance.
Begin with the light the room actually has
Stand in the normal places where you use the room and look at the wall in daylight. Then check it with the lamps or ceiling lights you normally use, noting where the appearance changes.
Pay attention to windows near the wall, a light close to the ceiling, and surfaces seen from a long side view. You are gathering information about how the room presents the wall rather than grading it against a lighting setup nobody will use.
If you can, return at another ordinary time of day. A patch or ridge may be easier to see when the direction of daylight changes, and that is useful context for planning the finish.
Record the viewing position along with a photograph. A close image of a shadow is less useful later if you cannot remember where the camera and light were placed.
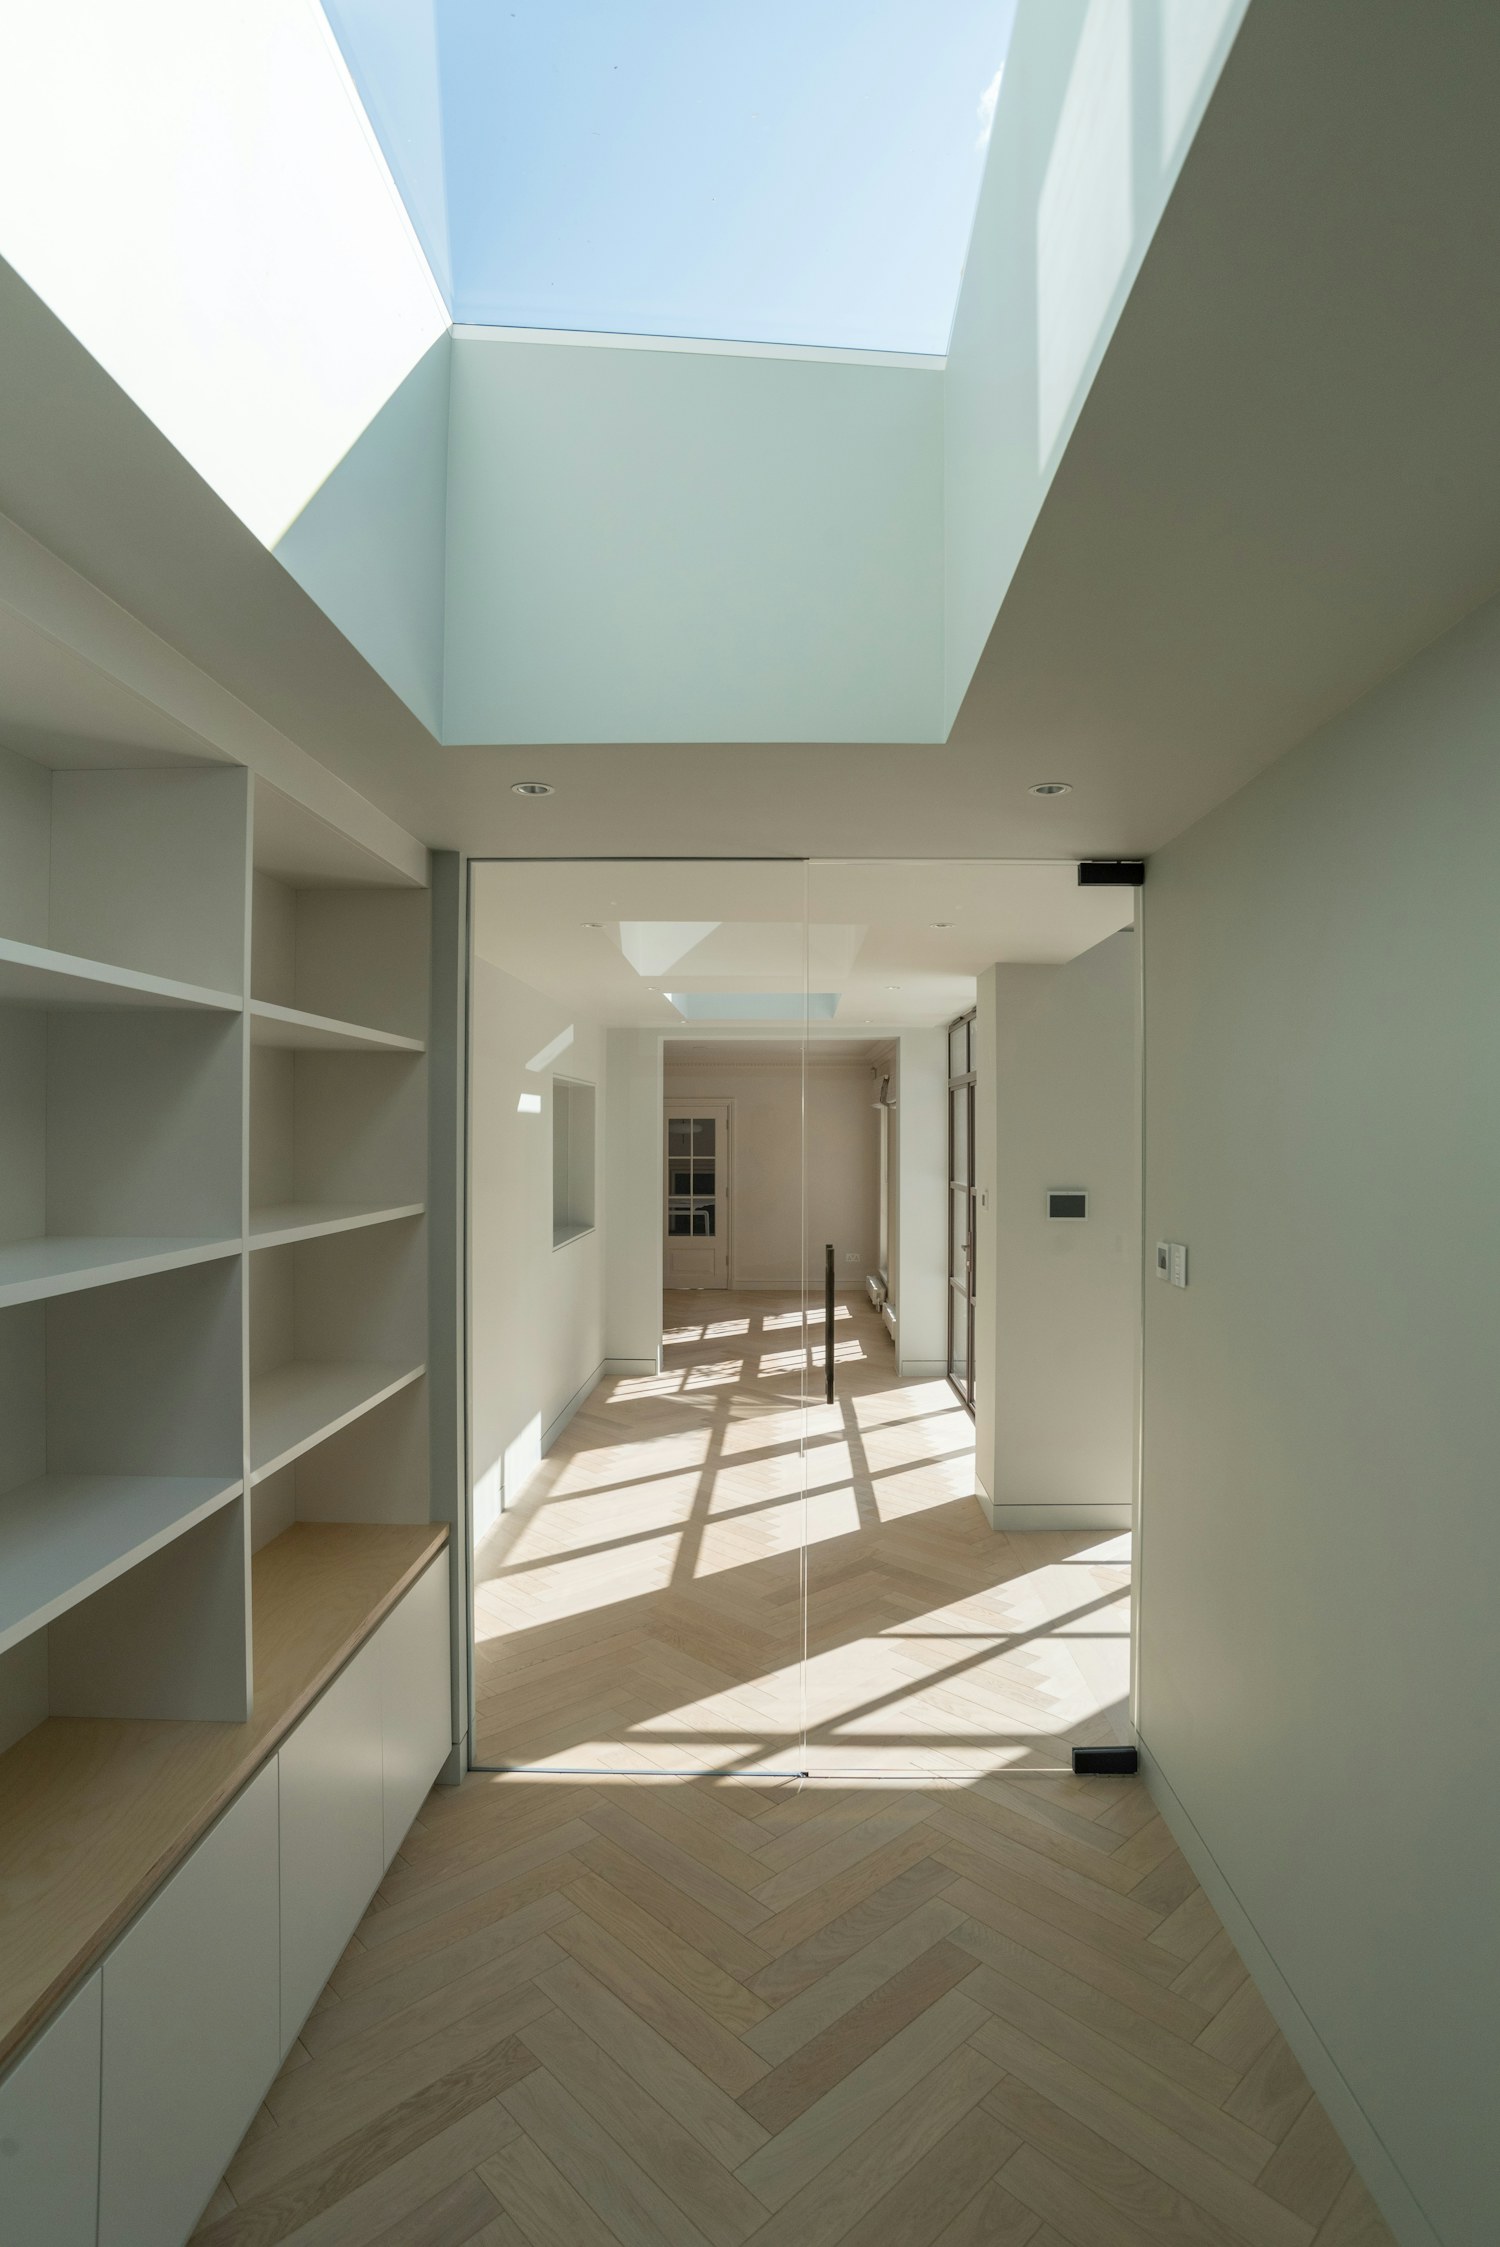
Make one controlled observation pass
Use a suitable portable light only in a way permitted by its instructions and appropriate to the space. Position it so that light crosses the wall, keeping cords, hot surfaces, and access routes out of the work path.
You do not need to hold the brightest available lamp against the surface. The aim is to reveal a transition you can investigate, not to create a theatrical shadow that makes every tiny variation look like major damage.
Move your viewing position slowly while keeping the light position consistent. Note where an edge or ridge remains visible and where an apparent mark disappears as the angle changes.
Keep the observation non-destructive. A lighting check does not require pressing, probing, sanding, or removing anything from the wall.
Look for a physical profile
A raised repair edge, a tool ridge, or an abrupt transition can cast a shadow under side lighting. Trace its location on a simple room sketch rather than making an uncertain mark directly on the finished surface.
Do not assume that the darkest shadow represents the deepest defect. Light direction, surface color, and viewing position influence the image, so the photograph alone is not a reliable depth measurement.
If you need to establish the actual profile, use an appropriate documented inspection method or ask the person doing the finishing work. Keep a visual observation distinct from a dimensional survey.
A physical ridge generally deserves a question about preparation rather than another attempt to match paint color. Identifying that distinction early can prevent several rounds of decorative touch-ups.

Notice texture changes as well as ridges
A smooth repaired area inside a previously rolled wall can reflect light differently from its surroundings. That difference can remain even when there is no obvious raised edge around the patch.
Look at the scale and character of the surrounding texture without assuming that a larger roller nap is the solution. The coating, applicator, repair surface, and desired finish need to be considered together.
Keep separate notes for profile and texture. “Raised edge near the right side” and “smoother center” give you two useful questions, whereas “the whole patch looks bad” does not explain what should change.
You may also see old paint runs or uneven decorative layers that predate the current repair. Distinguishing those areas keeps the proposed work from expanding accidentally into an undefined whole-room restoration.
Distinguish a coating appearance issue
Some differences concern gloss or sheen rather than the shape of the wall. Sherwin-Williams describes flashing as an uneven coating appearance and identifies factors including porosity and uneven application thickness.
That means a side-light observation can reveal a problem without proving its cause. Keep the repair materials, primer, paint sheen, and application history available when deciding what to do next.
Do not sand automatically whenever something reflects light differently. The relevant next step depends on whether the issue is the surface profile, texture, absorbency, coating application, or another condition.
If the paint is still drying, follow its directions before judging the final result. A changing finish is a poor basis for deciding that the underlying wall needs another destructive preparation step.
Set a realistic finish brief
Decide where the wall will normally be viewed and which lighting conditions matter to the room. A hallway lit along its length and a small wall mostly hidden behind furniture may create different practical expectations.
Discuss those expectations before hiring finishing work or undertaking a broad skim coat. A phrase such as make it perfect does not explain the substrate, lighting, decorative coating, or agreed scope.
USG's Easy Sand technical guidance specifically addresses preparation where severe side lighting and gloss finishes make concealment demanding. Treat that as a reason to discuss the complete finish system, rather than borrowing one step without checking its application to your wall.
Keep any agreed finishing standard tied to the actual project specification. An article and a photograph cannot certify that a wall meets a particular construction or finish standard.
Make a room sketch you can reuse
Draw the wall outline and add the window, doorway, and normal light locations. Number the areas you want to discuss, then connect each number to a photograph taken from a recorded position.
Use descriptions that another person can understand without seeing the room immediately. For example, note whether a transition is visible from the sofa in afternoon light or only with a portable lamp placed beside the wall.
Keep ordinary viewing observations and deliberate inspection-light observations in separate columns. Both can be useful, but combining them can exaggerate or hide what a reader of the notes needs to know.
After supported preparation or finishing work, repeat the relevant observation under similar conditions. You can then compare the same view rather than choosing a flattering after photograph from another angle.
Know when lighting cannot answer the question
Raking light can show a surface transition, but it cannot establish the condition inside a wall cavity. Dampness, recurring cracks, loose board, and other uncertain damage need the appropriate assessment beyond a lighting check.
Do not infer that a wall is sound because a shadow disappears when you move the lamp. Equally, do not diagnose structural movement simply because a seam becomes visible under a severe side view.
If the next step would disturb old coatings, resolve the relevant material and dust precautions before proceeding. Observation is a useful stopping point when the wall's history remains unknown.
Use the result to choose the next question
At the end of the check, you should have a small set of observations rather than a shopping list of random primers and abrasives. Bring the photographs, sketch, product history, and desired appearance to the person advising you.
Ask which part of the proposed work addresses the profile, which addresses texture or absorbency, and how the finished wall will be evaluated. Those questions connect the repair to something you can observe without promising that every surface variation will disappear.
A few consistent observations before painting can make the next decision more precise. You will know what you are trying to improve and how to look at it again when the work is ready.
For a final useful record, include one ordinary room photograph with the inspection images. It gives a future reader the scale of the wall and the everyday context, so a close shadow photograph does not become the only evidence of how the room actually looks.
Photograph a pale wall without overclaiming
On a pale wall, a phone may change exposure when a bright window enters the frame. Keep the composition similar when comparing the same patch, and retain the original images rather than editing one until its shadows look stronger.
Use the photographs to support your written observations. They help explain where a difference appears, but they are not a calibrated measurement of flatness or sheen.
Published technical information supports the specific material statements. Room examples and illustrations are original; they are not product tests or a diagnosis of your wall.