A nail hole beside your bookshelf and a long seam between drywall panels are both interruptions in the wall. That does not mean they need the same tub of material, the same reinforcement, or the same preparation before painting.
Start by describing what is missing, loose, or cracked rather than choosing the product that sounds toughest. Once you know the repair, you can compare the label with a specific job instead of guessing from the word patch.
Identify the material behind the damage
Look at the surface without enlarging the damaged area. Painted gypsum board, plaster, wood trim, and masonry can sit beside one another in the same room, while a photograph taken from across the room may hide those differences.
If you cannot identify the material, pause before buying a filler. A small exposed edge, the building history, and a closer photograph may help a knowledgeable supplier identify the surface without a destructive investigation.
Also check whether the surrounding material feels sound during an ordinary visual inspection. A small dent in a firm wall is a different brief from a soft, damp, crumbling area that happens to have a small opening in its center.
Do not treat filler as a way to conceal active moisture or unexplained damage. Solve the underlying problem or obtain an assessment before planning the cosmetic finish.
What the two names usually tell you
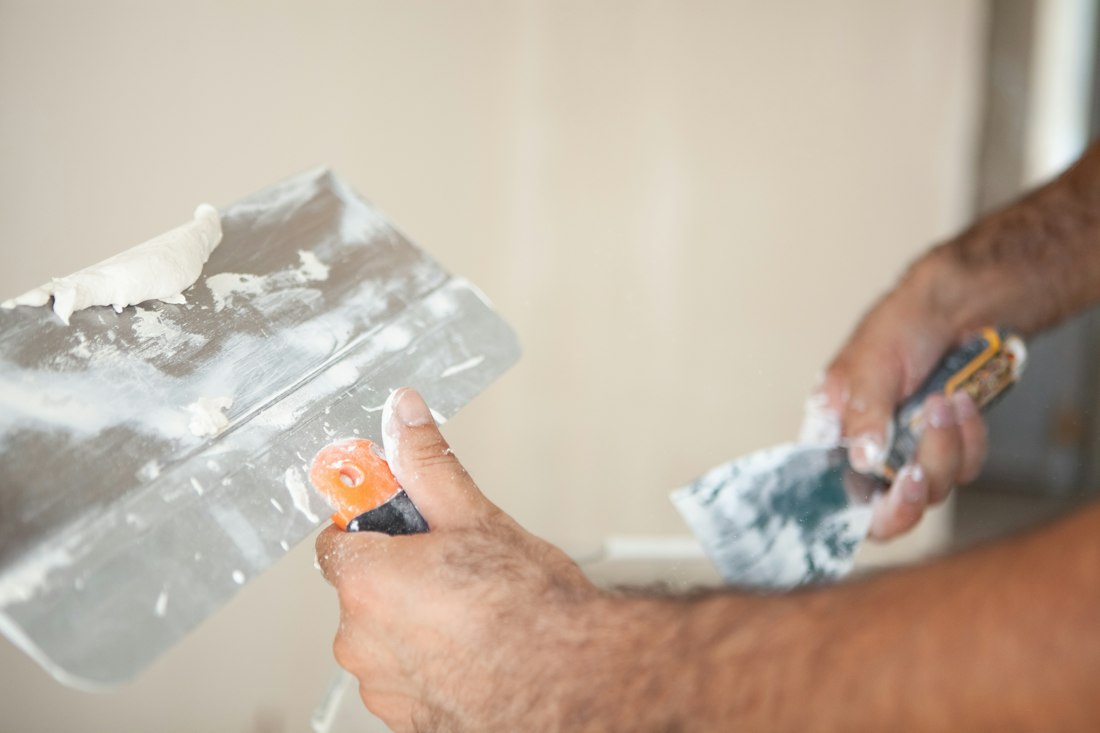
DAP's patch-and-repair guidance distinguishes spackling for smaller surface repairs from joint compound for drywall finishing, seams, and broader surface work. That is a useful first distinction, but the particular product instructions still control its permitted surfaces and repair limits.
You will also find different products within both categories. A label such as lightweight, ready mixed, or setting type describes another part of the material choice rather than a universal promise about every repair.
For a few shallow nail holes, investigate a spackling product documented for the surface and hole size. For a taped drywall joint or a broader finishing operation, investigate the specified compound and reinforcement system together.
Those examples help organize the shopping question; they do not establish a numerical hole-size cutoff for every brand. Check the product's actual depth, width, reinforcement, and application instructions before deciding that a repair falls within its scope.
A dent and a missing section are different repairs
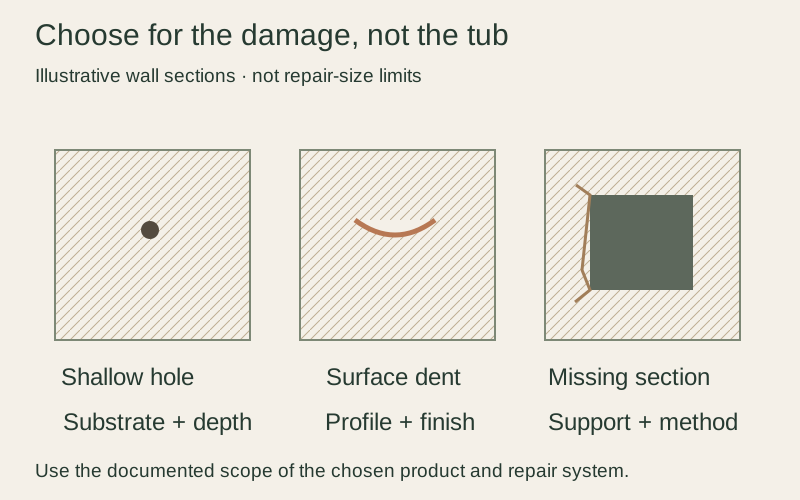
Imagine a shallow furniture dent that leaves the wall facing intact. Your task may be to restore the surface profile, following an appropriate filler's preparation, coat thickness, and drying instructions.
Now imagine a missing piece of board with an opening behind it. Material squeezed into the opening does not automatically create the support that the specified repair system requires, even if the package contains enough paste to fill the visible space.
Do not invent a backing method from whatever packaging is nearby. Consult a documented board-repair method or a professional when the damage needs support, a replacement section, or treatment beyond a superficial fill.
A patch kit can also contain several materials that serve different purposes. Read its complete instructions rather than treating the supplied mesh, patch, and compound as interchangeable substitutes for every other repair product.
Check whether reinforcement belongs in the job
A crack or seam may need a reinforcing tape as part of a documented system. If tape is specified, the material underneath and over it needs to be suitable for that tape and for the particular joint.
Do not decide that a thicker application of a convenient filler replaces reinforcement. Likewise, a self-adhesive tape does not establish that the compound already in your cupboard is the correct companion product.
USG's tape-and-compound guidance explains why tape selection and compound selection should be made together. Use the instructions for the actual products rather than transferring one brand's system claims to an unrelated patching material.
If you are repairing the same crack repeatedly, keep a record of where it returns and what was used previously. Repeating the same cosmetic step without understanding the movement is not a useful test of a stronger-sounding filler.
Plan the finish before you fill
Consider how the wall will be seen after the repair. A smooth patch can remain noticeable in a wall with an existing texture, and a raised edge can cast a shadow under side lighting.
Plan the transition around the repair instead of focusing only on the center. The amount of surrounding work depends on the repair system, existing texture, and desired result, so there is no universal feathering width to copy into every job.
Keep your expectation realistic when a wall already has several layers of repairs. Restoring one small area does not establish that the entire surface will look uniform under the most demanding light in the room.
If the finish is especially important, ask the person advising you about the whole sequence from substrate to final coating. That conversation is more useful before buying than after you discover that the chosen material does not suit the intended finish.
Read drying instructions without shortcuts
Check whether the material hardens by drying, by a setting reaction, or through another process identified by its maker. A stated working or setting period is not automatically the time at which every later operation can begin.
Follow the instructions for the actual coat thickness and room conditions. A thin wipe over a shallow mark and a deeper fill can have different preparation and waiting requirements even when both come from the same container.
Do not add unapproved ingredients or change a mix ratio to meet a deadline. If the schedule does not fit the documented process, change the project timing or select another supported system before starting.
Treat the next step as its own decision. Sanding, priming, and applying a finish coat can each depend on conditions that the word hard does not fully describe.
Keep the small tool list practical
Choose a clean application tool that suits the documented repair and the space around it. A narrow spot beside trim and an open wall area may call for different control even when the filler is identical.
Inspect the working edge before use and follow the product's cleanup instructions. Debris carried through a fresh repair can leave marks that become another preparation task later.
Buy the amount that serves the project and its supported storage plan. A large container is not an advantage if you cannot keep the remaining material in the condition described by the manufacturer.
Keep different materials labeled and separate. A partly used tub with no readable name is a poor starting point when you need to know whether it is a filler, an adhesive, or a joint compound.
Work through one small example
Suppose you have three shallow picture-hanging holes on an otherwise sound painted wall. Record the substrate, the approximate depth, the surrounding texture, and the paint finish before choosing a documented small-repair product.
Then write the proposed sequence in plain language: prepare the surface, apply within the allowed limits, wait as directed, finish the profile, and follow the specified coating preparation. Leave a blank where the label has not answered a question, rather than filling it with a remembered internet tip.
If inspection reveals torn facing paper or a loose edge, revise the brief before proceeding. Discovering another layer of work is useful information, not a reason to hide it under the first product you bought.
Know what a successful choice looks like
The right choice gives you a documented match to the surface and repair, plus a preparation and finishing sequence you can actually follow. It does not have to be the same material you would choose for a completely different wall problem.
Save the product name, repair location, and coating information when the job is complete. Next time, you can compare an actual successful setup with the new damage instead of starting again from an unlabeled tub.
Compare two jobs before buying one material
For a useful shopping check, list a shallow nail hole beside a longer taped seam as two separate jobs. Ask which product is documented for each, whether the same material can legitimately serve both, and which additional preparation each needs.
If the answer differs, keep two clear material lists rather than forcing the smaller job's convenient tub into the larger joint system. The extra clarity can prevent buying a second unsuitable product later.
Published technical information supports the specific material statements. Room examples and illustrations are original; they are not product tests or a diagnosis of your wall.