Preparing walls before painting is crucial to achieving a flawless, professional-looking finish. Patching walls before painting involves repairing cracks, holes, and imperfections that can detract from the final appearance. Proper patching not only improves wall aesthetics but also ensures paint adheres evenly and lasts longer. This guide provides detailed steps, materials, and expert tips for patching walls effectively to enhance your painting project’s results.
| Step | Purpose | Materials Needed |
|---|---|---|
| Assessment | Identify damage to be repaired | Flashlight, ruler |
| Cleaning | Remove dust and debris | Vacuum, cloth |
| Filling Holes and Cracks | Restore wall surface | Spackling compound, putty knife |
| Sanding | Smooth patched areas | Sandpaper (medium and fine grit) |
| Priming | Prepare surface for paint | Primer, brush or roller |
Assessing Wall Damage Before Patching
A thorough assessment is the first step to effective wall repair. Inspect all walls carefully using good lighting to locate cracks, nail holes, dents, and peeling paint. Common wall damages include small nail holes, medium cracks from settling, and larger gouges or holes caused by impacts. Documenting all imperfections ensures no area is overlooked during patching.
In some cases, damaged drywall or plaster may need replacement rather than patching, especially if the damage is deep or the wall is damp. Identifying the types and sizes of defects helps select the right patching materials and methods.
Cleaning Walls to Ensure Proper Adhesion
Before applying any patch material, clean the wall to remove dust, dirt, grease, and loose paint. Use a vacuum or dry cloth to clear loose particles from cracks and holes. For greasy or stained areas, a mild detergent solution can be used, followed by wiping with a damp cloth to remove residue.
A clean surface is critical for patch compounds to adhere properly and prevents future peeling or cracking. Allow walls to dry completely before proceeding.
Choosing the Right Materials for Wall Patching
Selecting the appropriate materials depends on the nature of the damage and wall type. Here are common patching options:
- Spackling Compound: Ideal for small holes and minor cracks, it dries quickly and sands easily.
- Joint Compound (Drywall Mud): Suitable for larger holes and surface smoothing, offers a longer working time.
- Patch Kits: Include self-adhesive mesh patches combined with joint compound for holes over 1/2 inch.
- Plaster Repair: For older plaster walls, specialized plaster patch materials or bonding additives may be necessary.
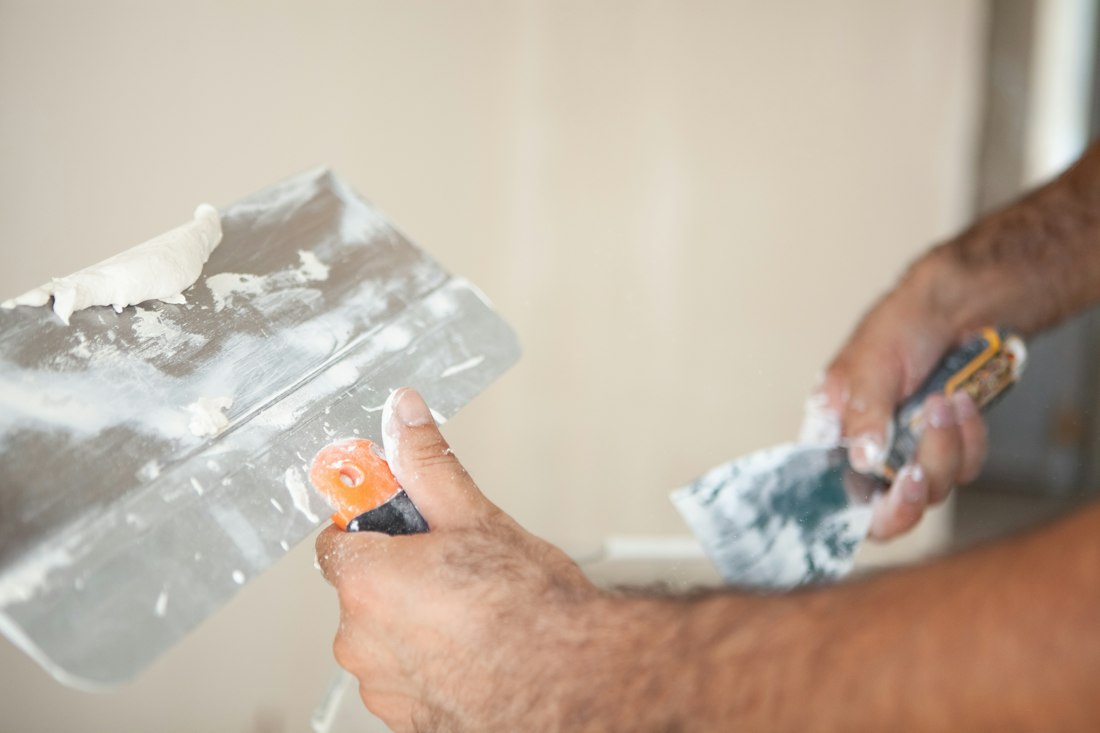
Use a flexible putty knife for applying filler, choosing a size appropriate to the affected area to spread the compound evenly.
How to Patch Small Holes and Cracks
For nail holes and small cracks up to 1/4 inch:
- Apply spackling compound directly into the hole with a putty knife.
- Press the filler deeply to remove air pockets.
- Smooth the surface with the putty knife feathering the edges to blend with the wall.
- Allow to dry thoroughly—usually 1 to 2 hours.
- Sand lightly with fine-grit sandpaper until smooth and flush with the wall.
Multiple thin layers may be necessary for larger cracks. Avoid thick single-layer applications as they can crack while drying.
Repairing Larger Holes and Damaged Surfaces
For holes larger than 1/2 inch or uneven wall surfaces, follow these steps:
- Clean and remove loose debris inside the hole.
- If the hole is large, apply a mesh patch over it to serve as a base.
- Apply joint compound over the patch, spreading beyond the edges to blend with the wall.
- Allow drying completely (up to 24 hours depending on thickness).
- Sand the area smooth with medium then fine-grit sandpaper.
- Repeat application and sanding if necessary to create a seamless surface.
This technique prevents the patch from cracking and ensures durability once painted.
Sanding Techniques for a Smooth Finish
Proper sanding is key to achieving a paint-ready wall. Begin with medium-grit (120-150) sandpaper to level raised patch edges and remove excess filler. Follow with fine-grit (220) sandpaper to smooth the surface and feather the patch into the surrounding wall.
Use a sanding block or pole sander for even pressure and avoid gouging the patched area. Wear a dust mask to protect against inhaling fine dust particles during sanding.
Once sanding is complete, wipe the wall with a damp cloth to remove dust before priming.
Priming Patched Walls for Optimal Paint Adhesion
Priming patched areas is essential to prevent uneven paint absorption and visible patch outlines. Use a stain-blocking, bonding primer suited for drywall or plaster. Apply primer generously over patched sections with a brush or small roller.
For large patch jobs, consider priming the entire wall for consistent paint coverage. Allow primer to dry fully before painting.
Priming enhances paint durability and ensures a uniform finish by sealing repaired surfaces.
Common Mistakes to Avoid When Patching Walls
- Applying Patch Compound on Dirty or Damp Walls: Leads to poor adhesion and premature peeling.
- Using Too Much Filler at Once: Causes cracking and uneven surfaces.
- Skipping Sanding or Insufficient Smoothing: Results in visible imperfections under paint.
- Not Priming Patched Areas: Paint may absorb unevenly, leaving obvious patches.
- Ignoring Wall Type Differences: Using drywall mud on plaster can cause bonding issues.
Additional Tips for Professional-Quality Wall Preparation
- Work in thin, multiple layers of compound for better control and drying.
- Keep spot lighting on walls during patching to reveal imperfections.
- Use a flexible putty knife to follow wall contours smoothly.
- Match primer and paint types according to wall surface and environment.
- Allow adequate drying and curing times between each step.